Storytelling
Storytelling allows you to navigate through specific layers in your project in a chosen order.
Enable storytelling
Clicking on Storytelling in the widgets section of the left panel will make the storytelling settings toggle appear on the right panel. Click the Enable toggle to start using storytelling.
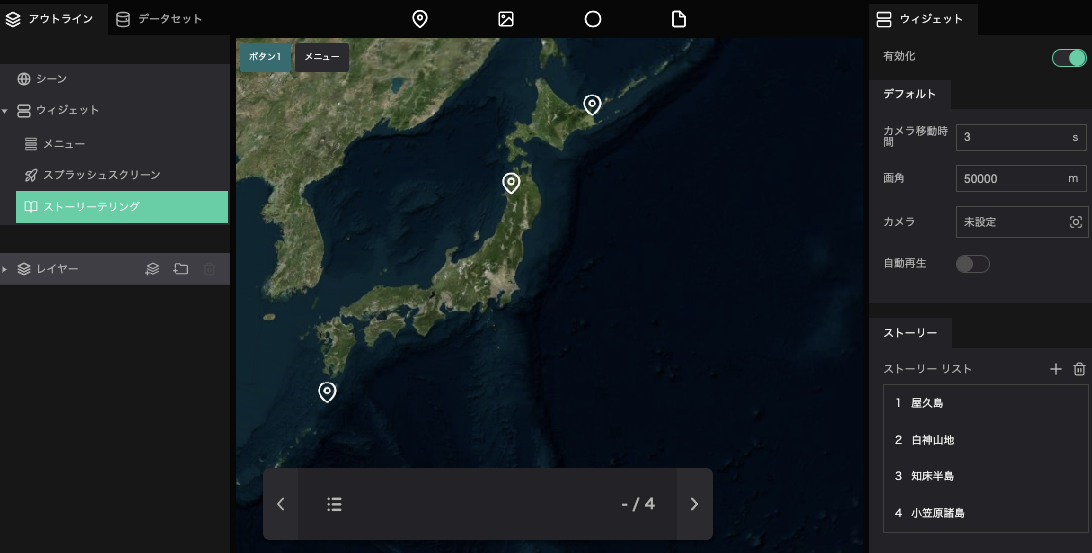
In storytelling, you need to set up two items: storytelling and stories.
Storytelling
- Range: Specify the distance from the layer to the camera.
- Camera pose: Specify the viewing angle of the camera.
Clicking on the Camera pose's input (it should say "Not set") will open a editor popup. Enter the desired values or adjust the angle of view on the map and click Capture to set the viewing angle during storytelling.
Auto start: When checked, the first layer in the storytelling list will be selected when the project is launched.
Stories
This is the setting where you choose which layers will be shown and in what order while using storytelling.
Add Stories
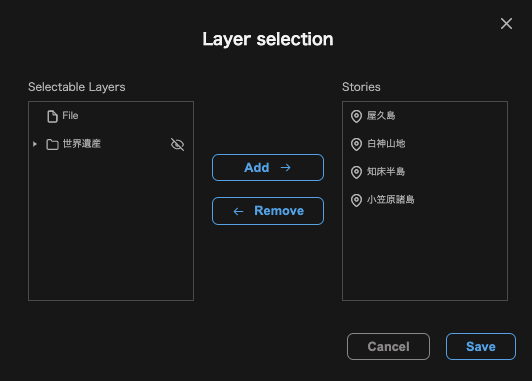
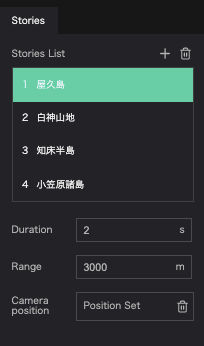
Click the + button in the story list to open the Layer selection window.
Select the layer(s) you want to add from the selectable layers, and click the Add button to add the layer(s) to the story list to be displayed.
Also, storytelling will be played in order from the top of the story list.
Camera settings for story
While playing back a story, you can set the angle of the camera for each layer (which will bypass the Storytelling's Camera pose setting.
Click on the layer of interest from stories list.
Duration: Specify the time (in seconds) it takes to move to the layer.
Range: Specify the distance from the layer to the camera.
Camera position: Specify the angle of the camera.
Run Storytelling
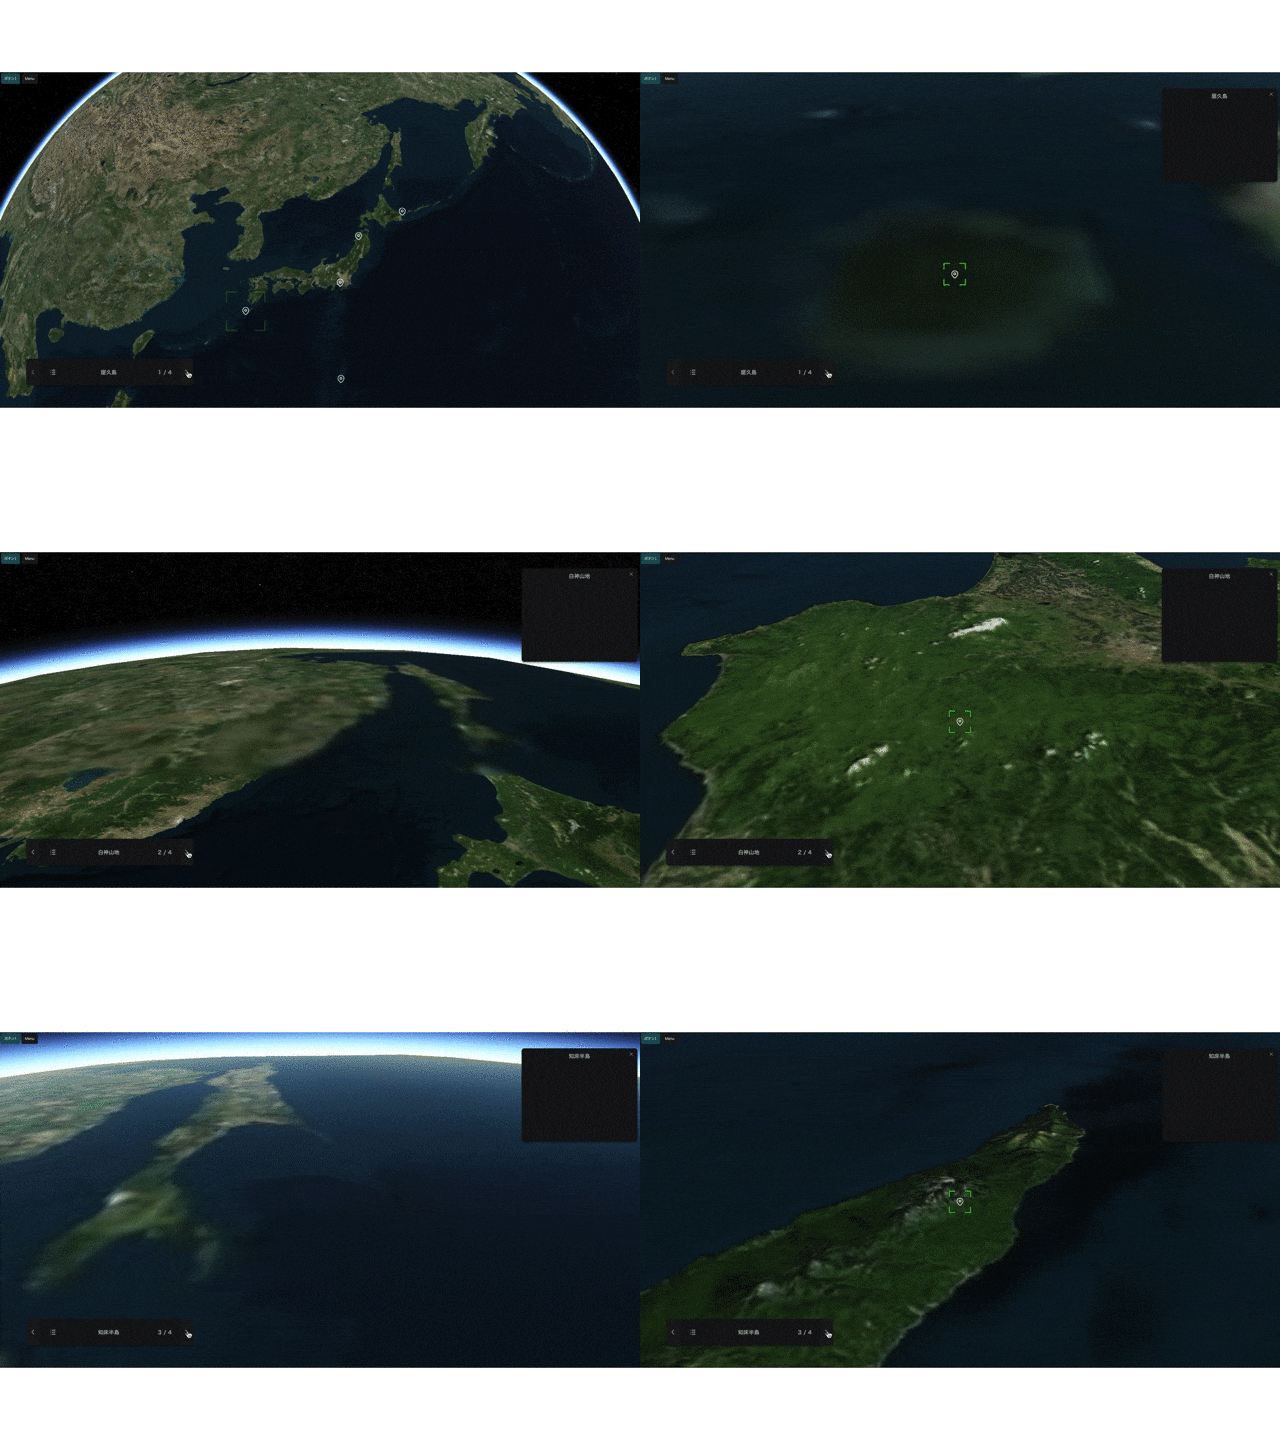
When Storytelling is enabled, the Storytelling menu will appear in the bottom left corner of the screen.
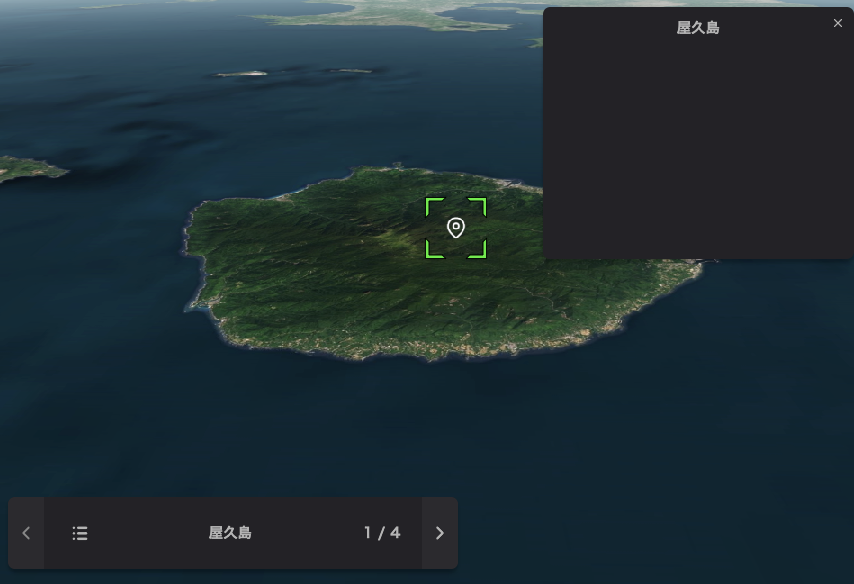
You can jump to the next layer with >, and < will allow you to return to the previous layer. You can also attach an infobox to a layer to be viewed at the same time as you display the layer.
See herefor infobox settings.
Also, if the selected layer is a photo overlay, the set image will be shown.
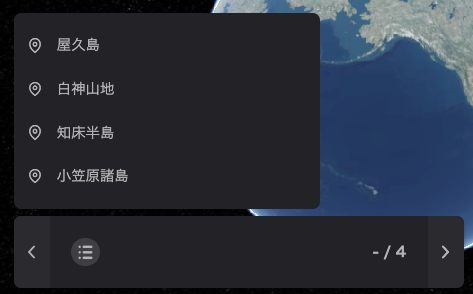
You can also go directly to a specific layer by clicking ≡, which will show the story list, and then selecting the desired layer's name.
