Editor Page
The Editor Page is the main interface for editing projects. Most of the user's time will be here. We try our best to make this interface as simple and easy to understand as possible.

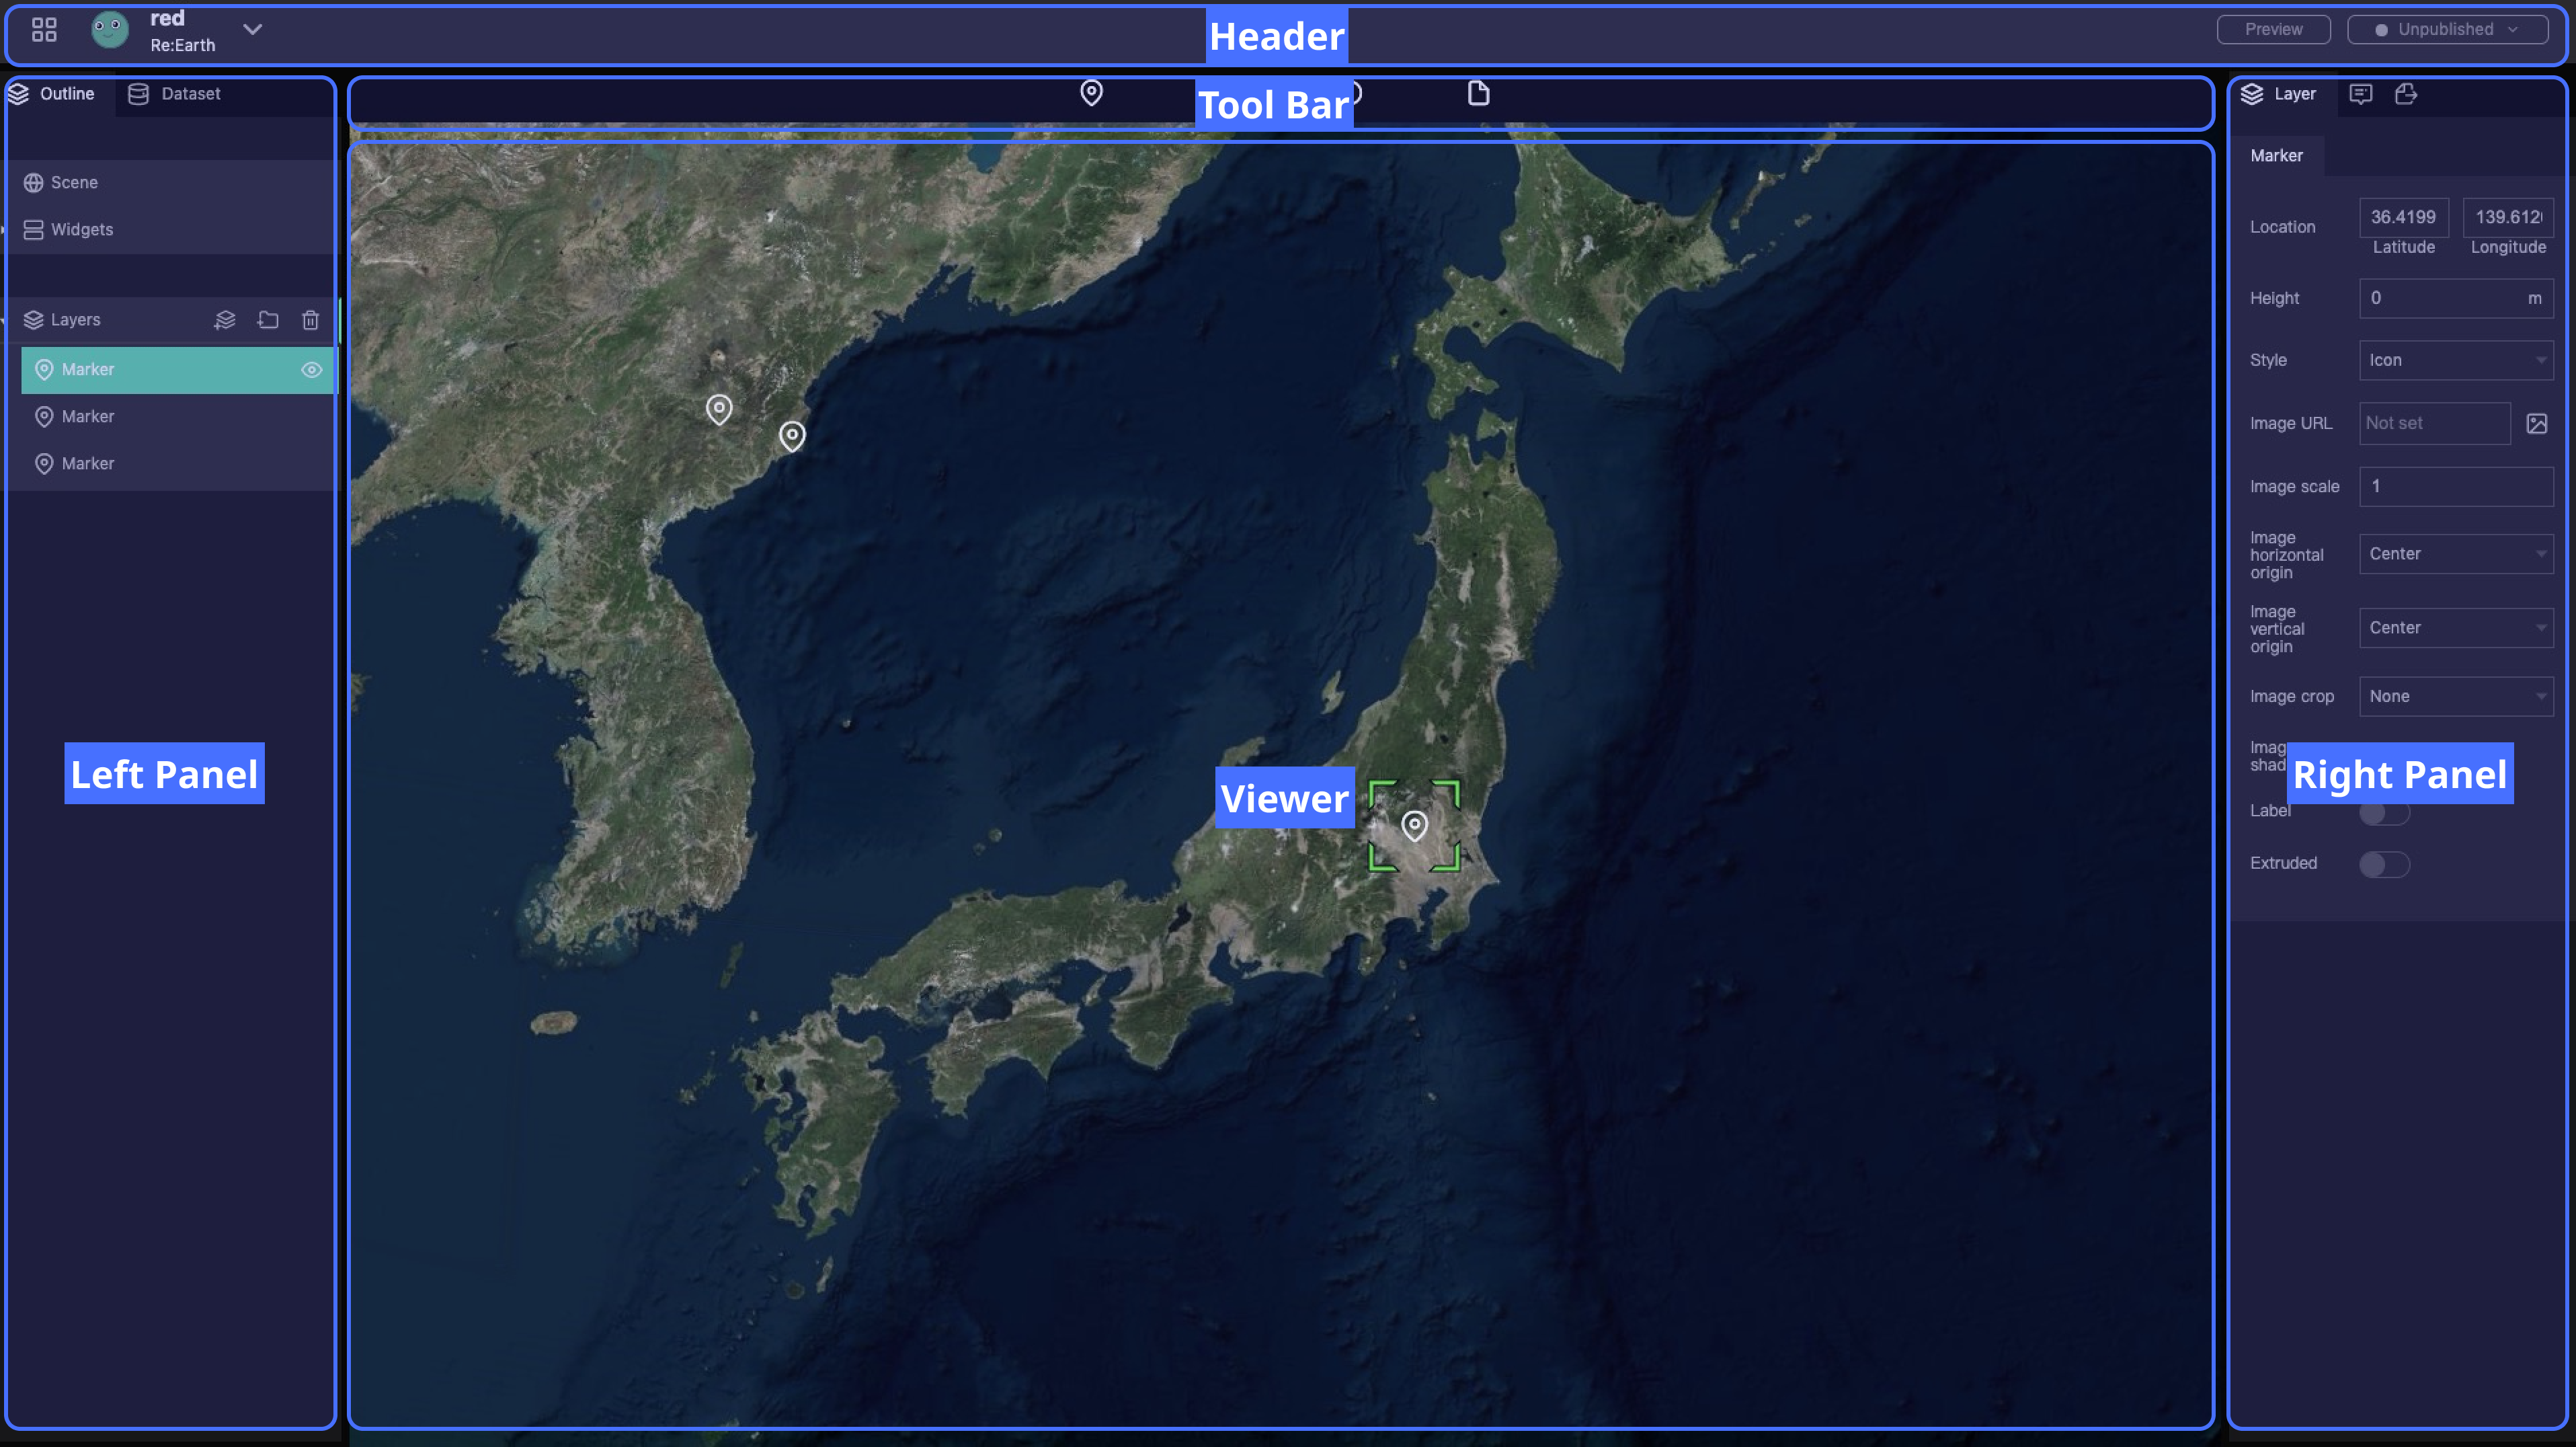
As you can see, the Editor Page is made by five EDITOR AREAS:
- Header
- Tool Bar
- Left Panel
- Viewer
- Right Panel
The most basic design idea is that the Left Panel is a content list, used to select the object to be operated. And the Right Panel is the property panel of the currently selected layer, which can be used to modify the properties. The Viewer is the presentation window of the project, and it also has the ability to select and edit.
Header
The Header is responsible for navigation, creating workspaces or projects, and publishing the project.

A down arrow will open a menu. Through these menus you can complete various operations as well as navigate to certain settings pages. The two buttons on the right are used to quickly preview or publish the project, respectively. For more information about the publishing function, please check here.
Left Panel
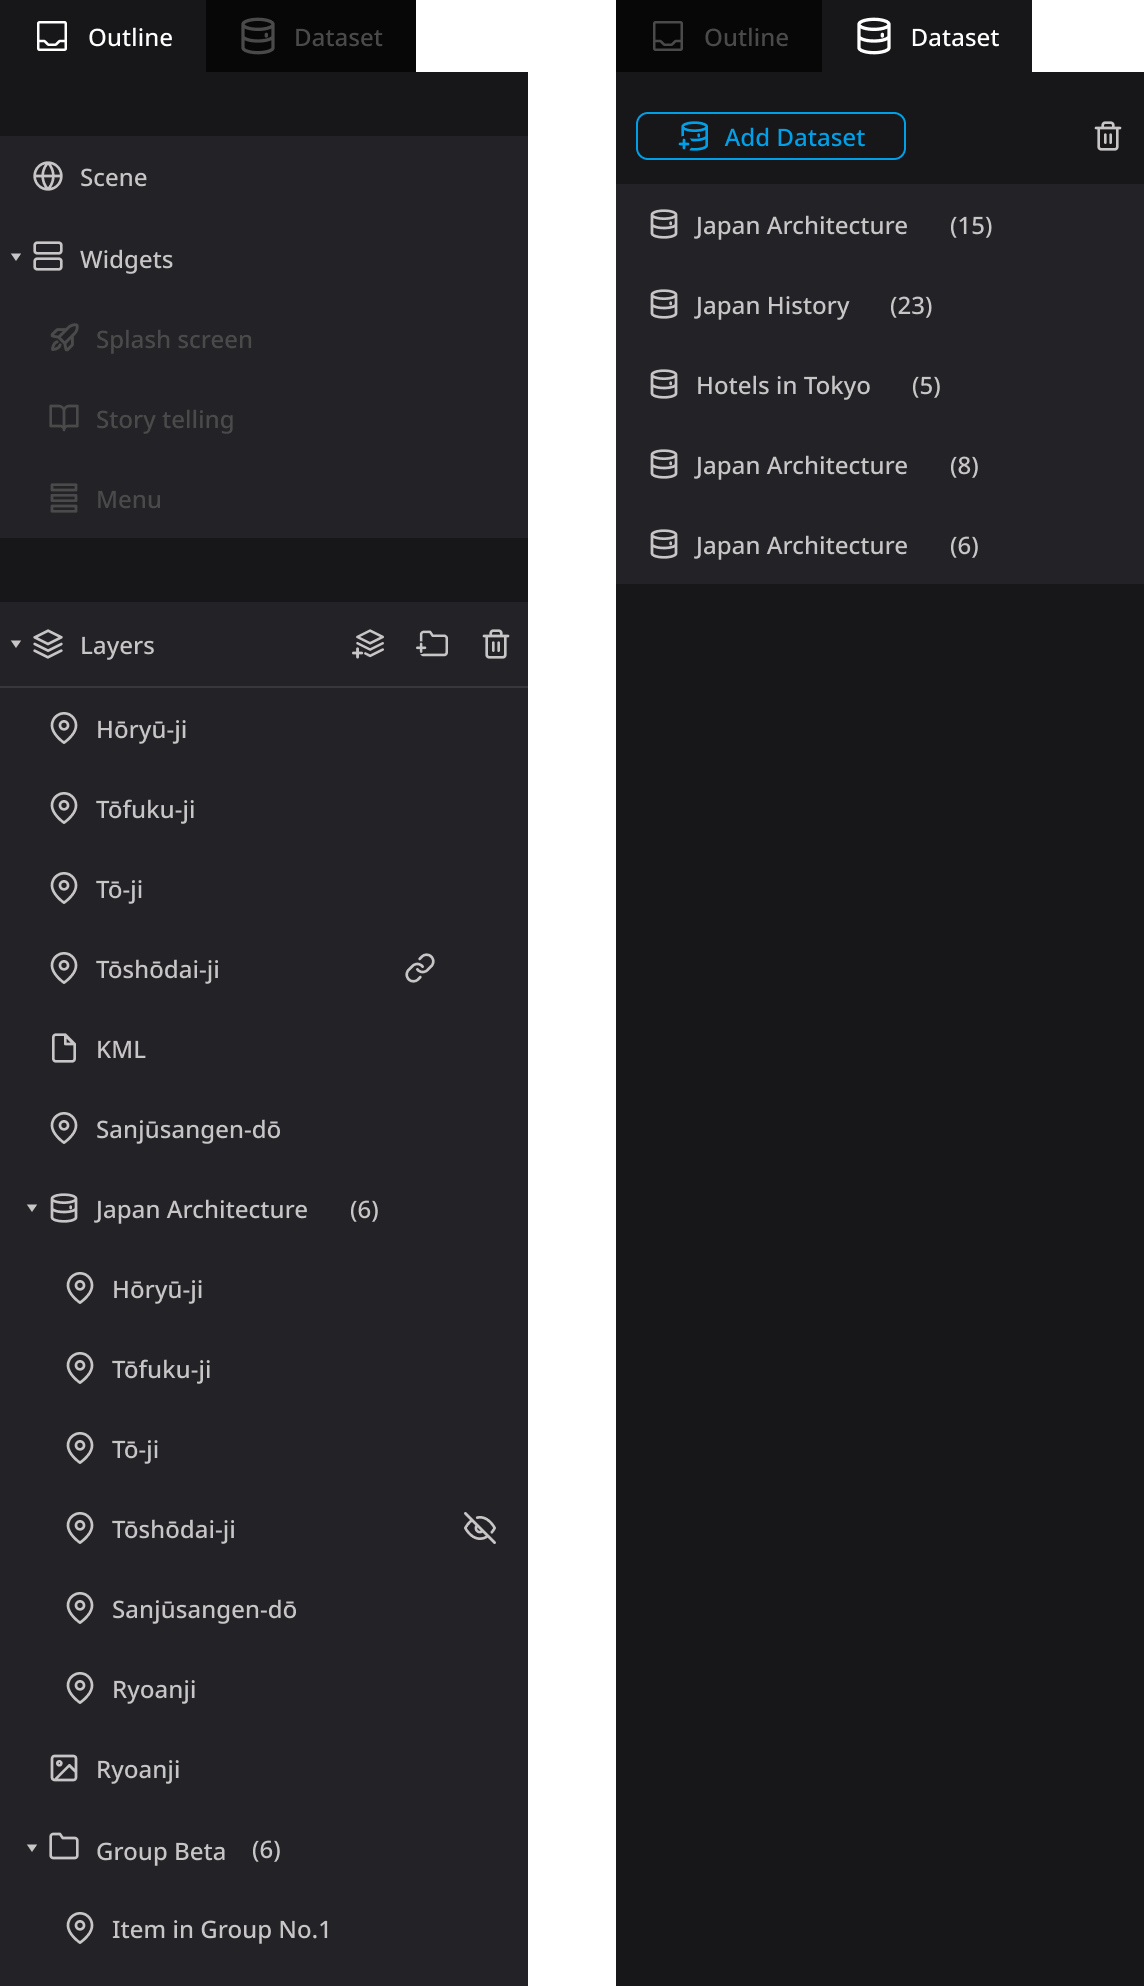
The Left Panel is used to present and manage all the content contained in the project. It has two labels, Outline and Dataset.

Outline
The Outline panel currently manages Scenes, Widgets and Layers
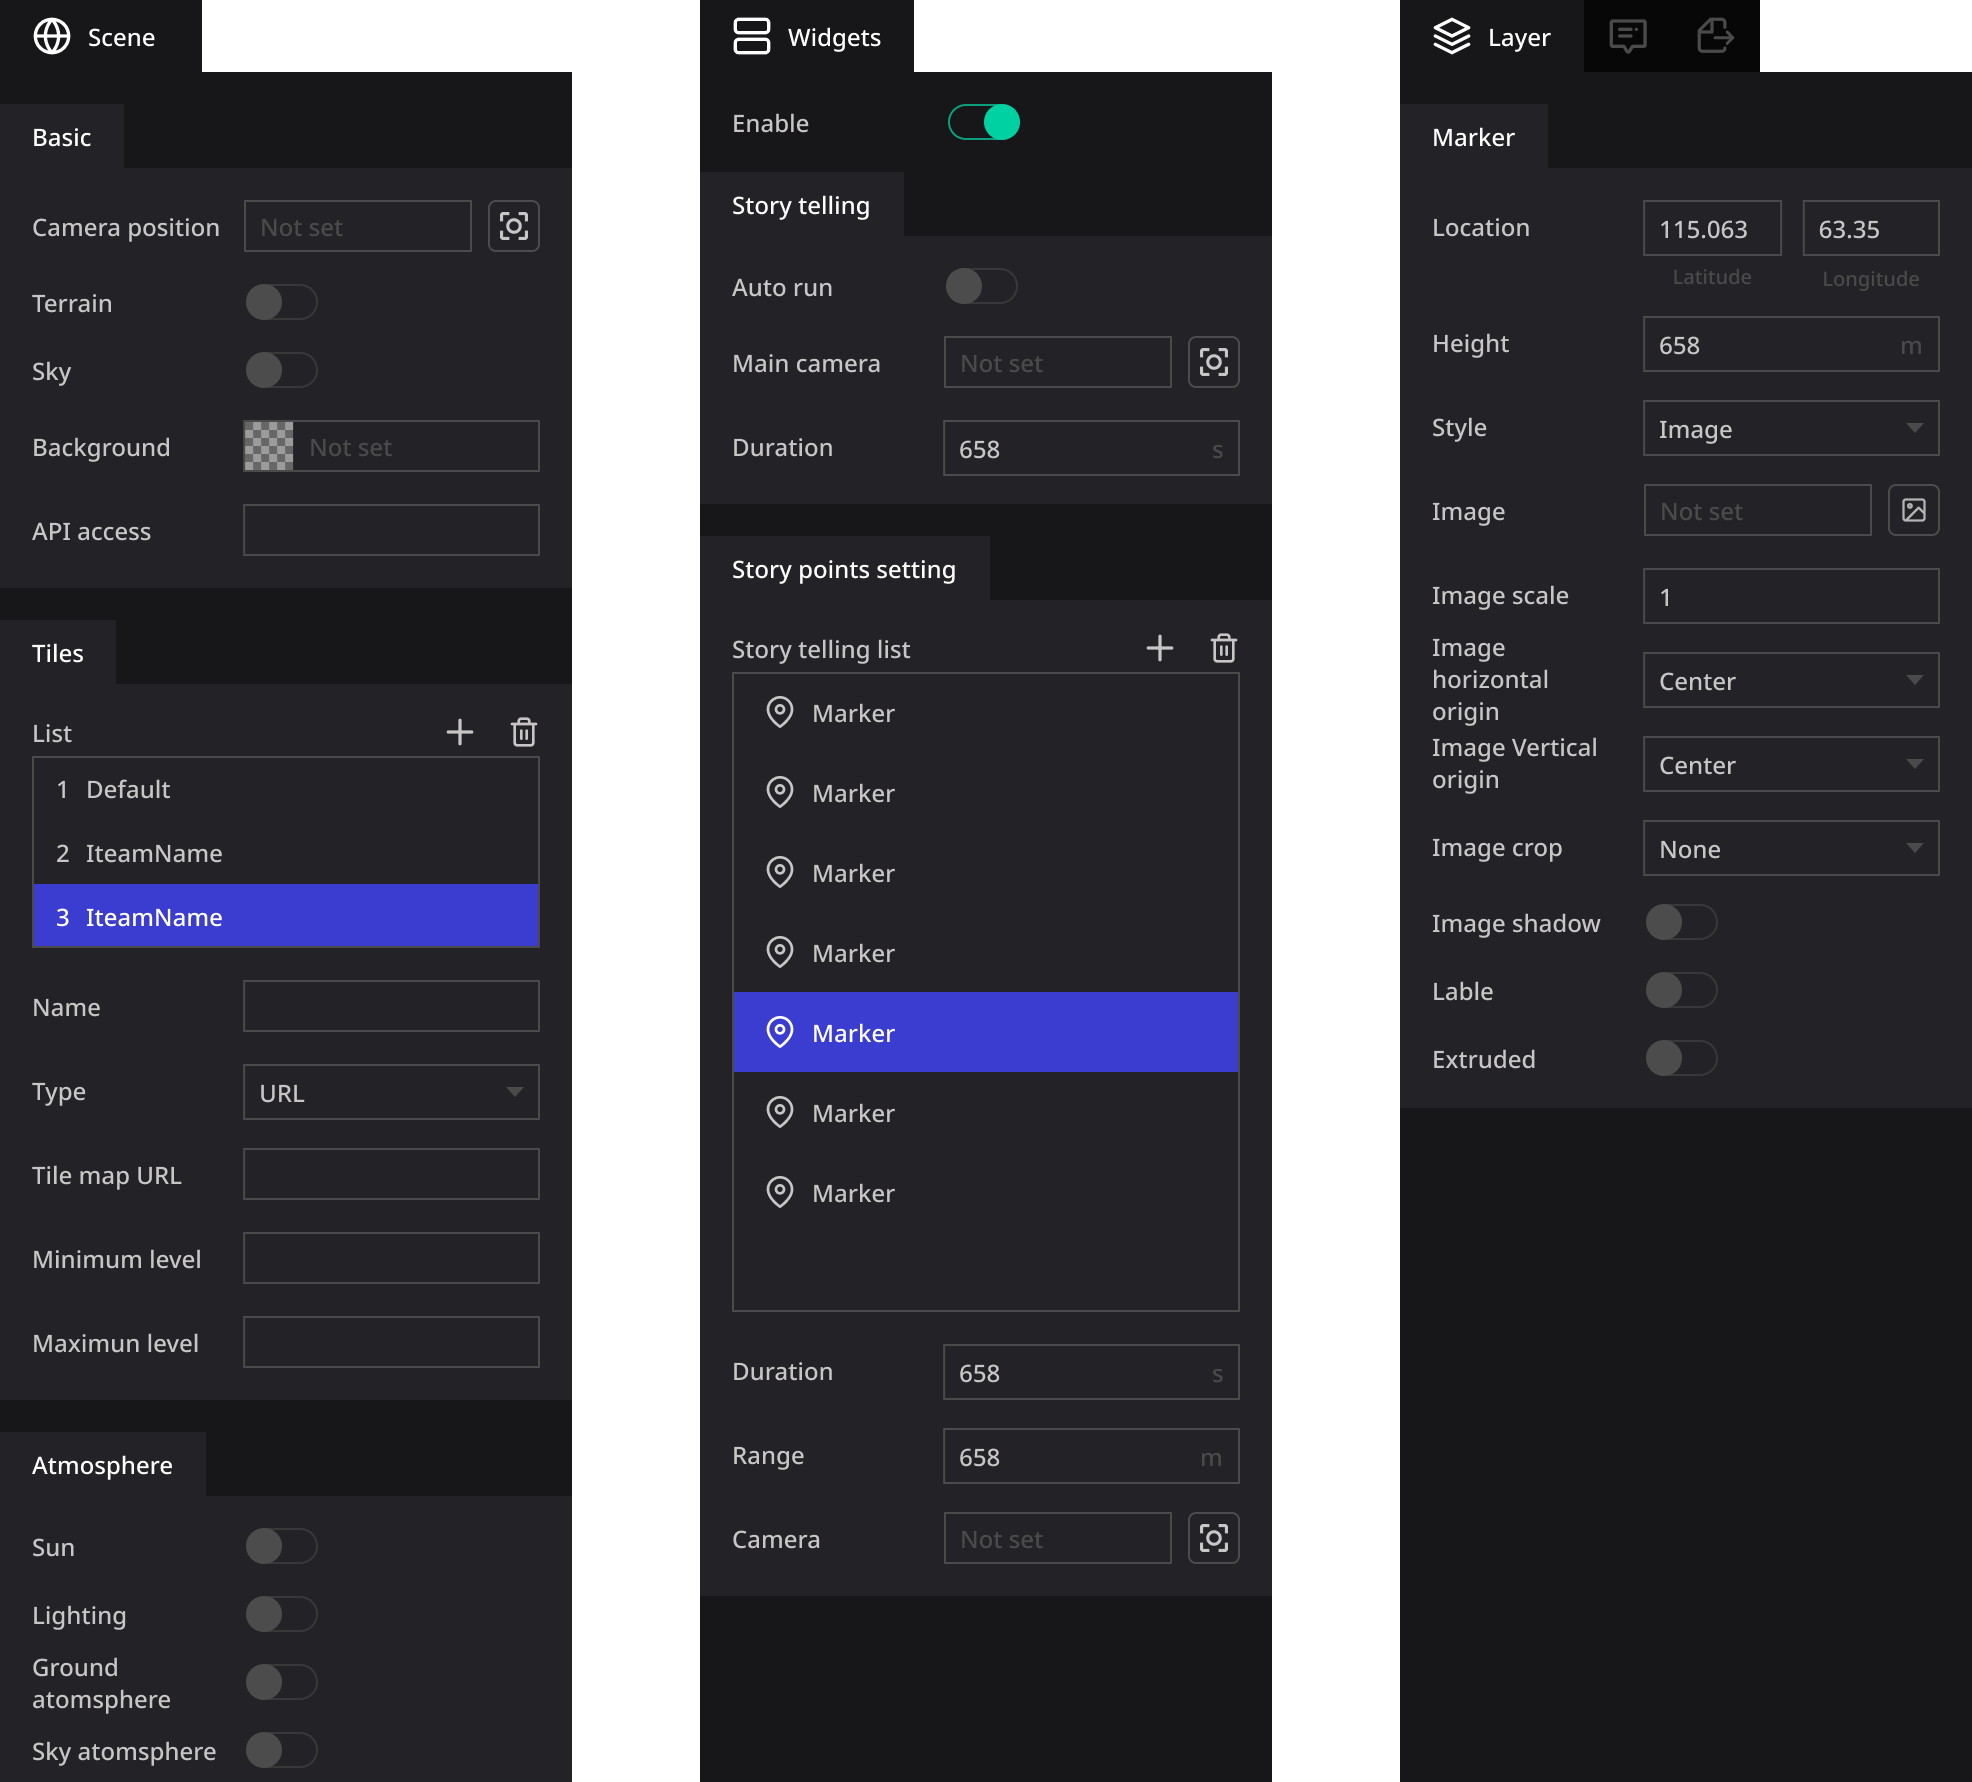
- Select Scene to change different aspects of the Scene in the Right Panel. Please refer to this page for details.
- Expand Widgets to view and manage the Widgets plugins installed in the project.
- Layers allows you to check and manage all Layers in the project.
Dataset
The Dataset label is used to manage the Dataset in the project. You can add or delete a Dataset. Please see here for more details.
Tool Bar
Like other editor software, we put the most commonly used tools here. You can see the Marker, the Photo overlay, the Sphere, and the File tool for now. Using these Tools we can create new Layers in the scene.
Right Panel
The Right Panel is where all attributes are adjusted. When you select a layer or widget in the Left Panel, the Right Panel will present the corresponding properties.

Viewer
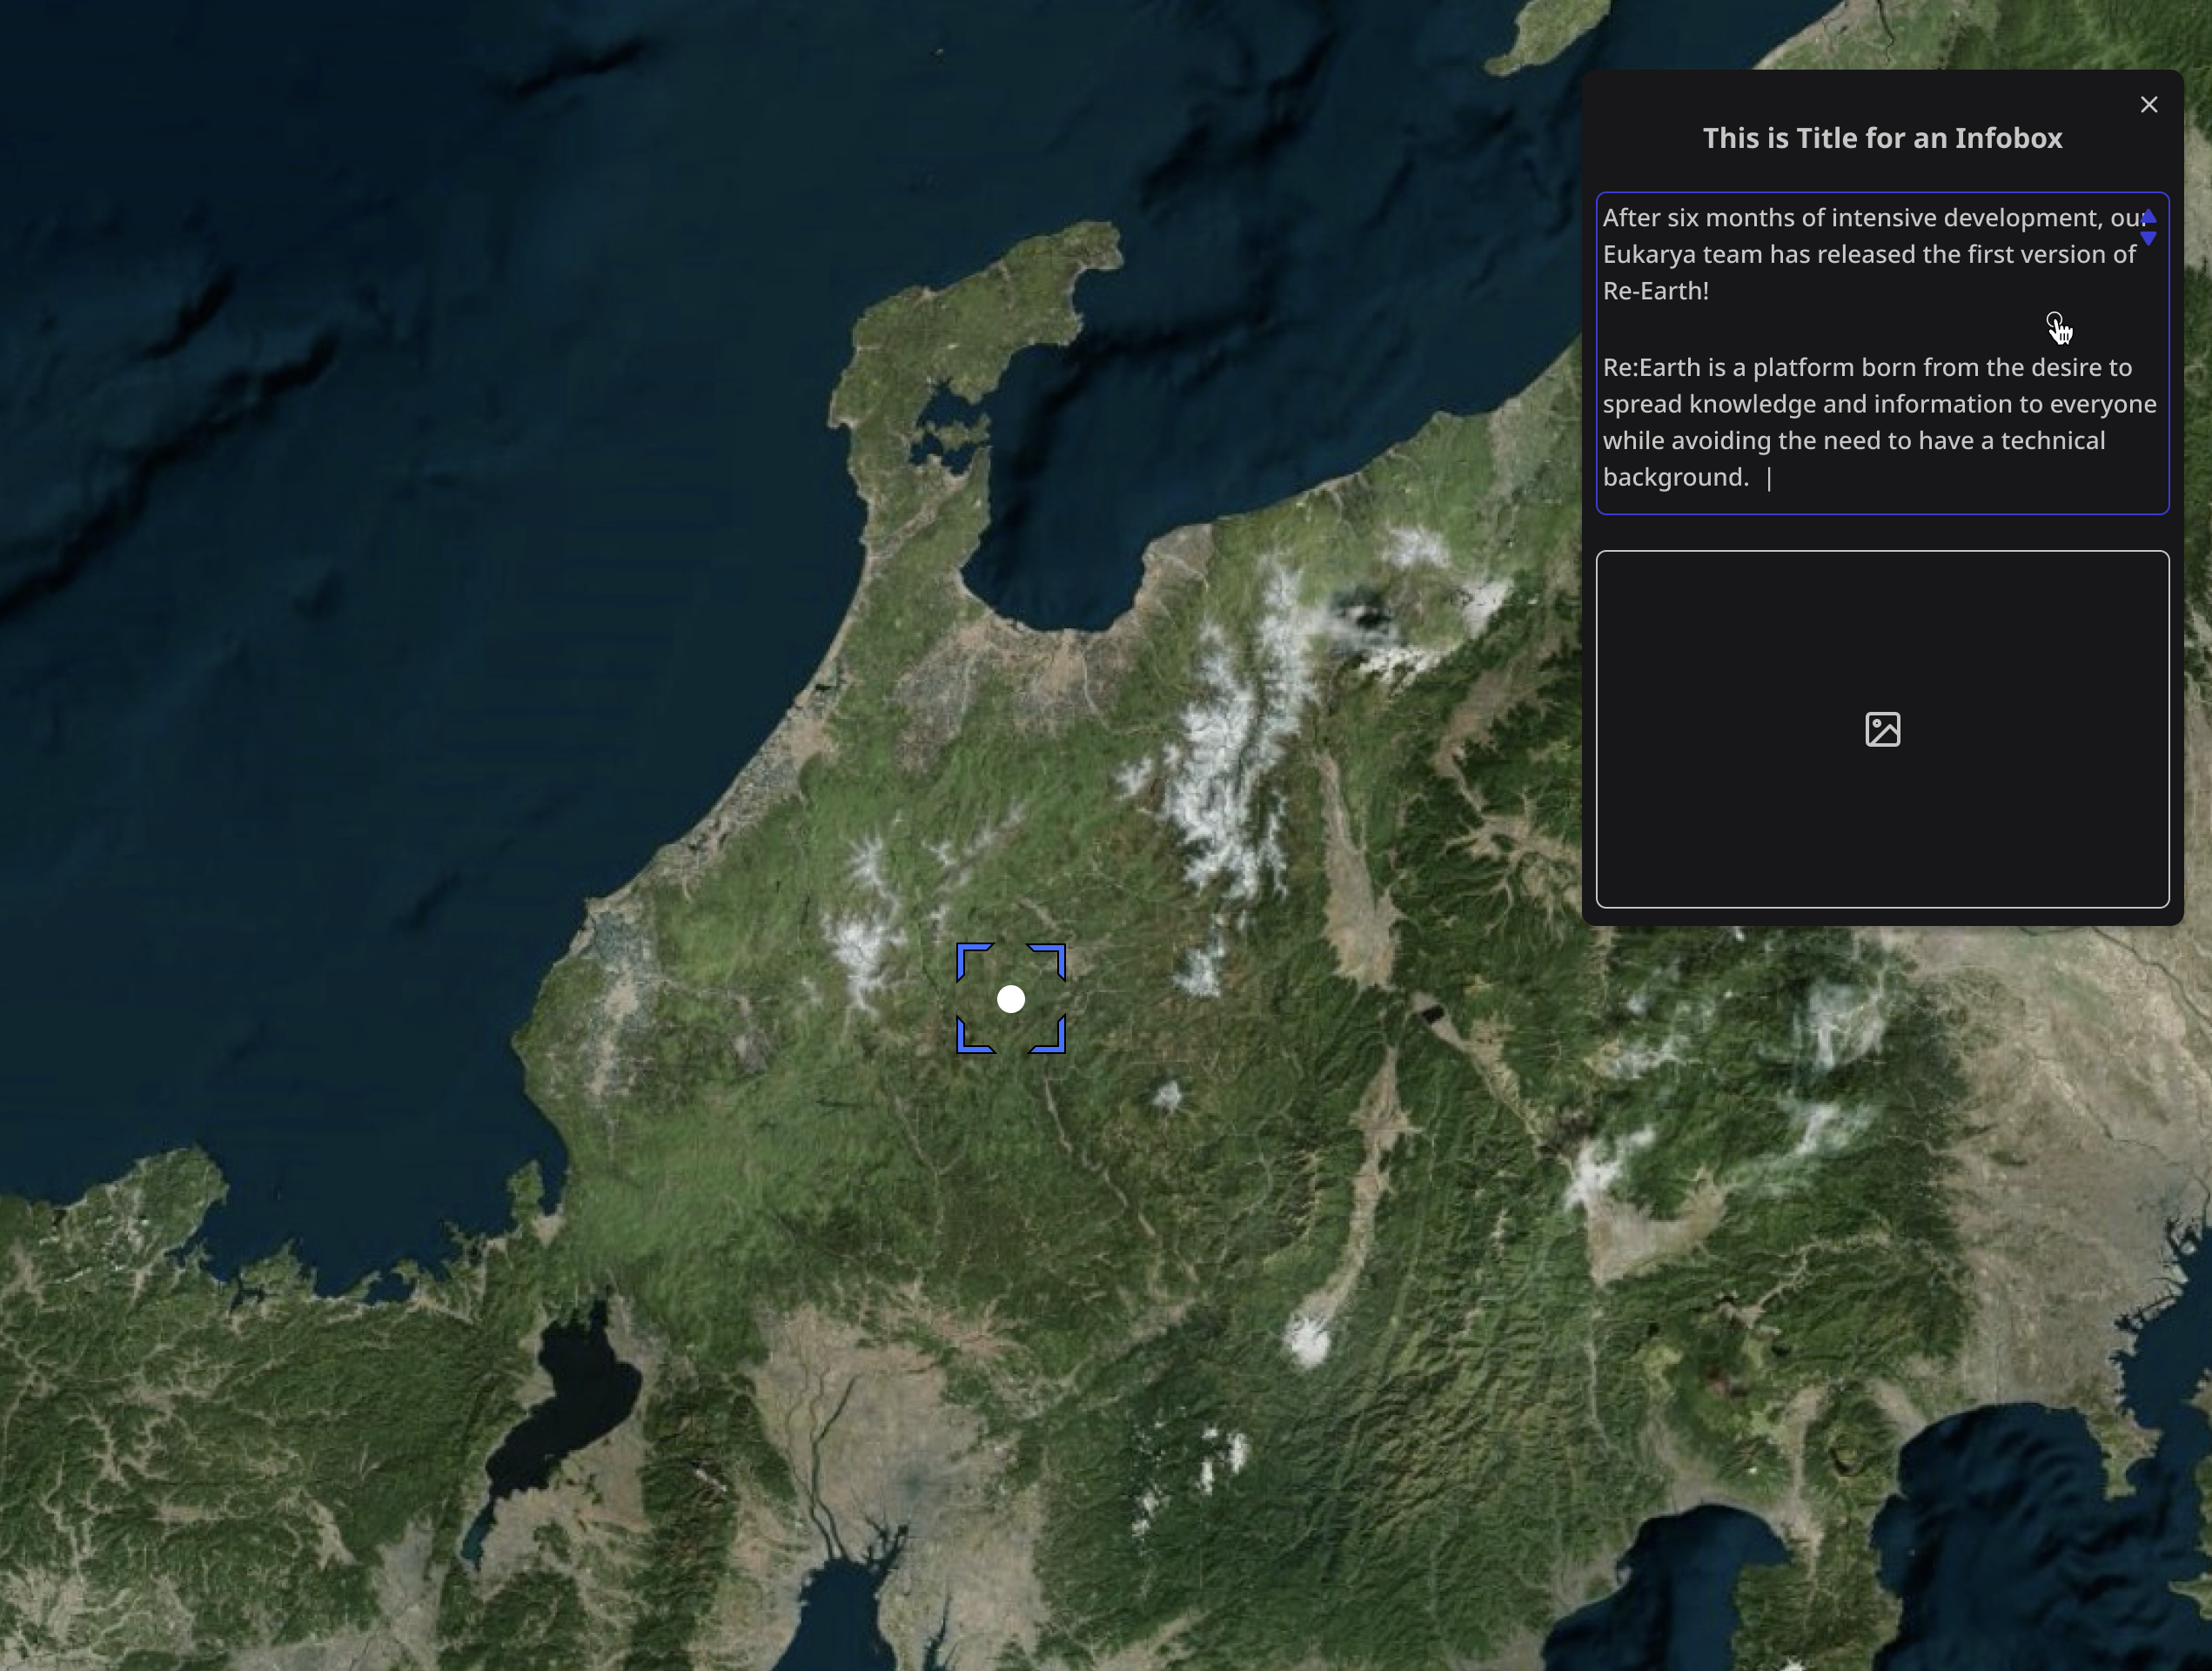
Viewer is an area that allows you to interact with the 3D digital earth to complete many operations. You can place a Marker, edit an Infobox, set the Camera, preview the effect of the entire project, and so on.

At present, we use the Cesium engine by default so we also use the Cesium method by default in the perspective operation:
- Pan view: Left click + drag
- Zoom view: Right click + drag , or Mouse wheel scroll
- Rotate view: Middle click + drag , or CTRL + Left click + drag